I've learned a few things about compression in the last few months and I'd like to share them with you here today. For this demonstration we will use the video Ipod as our test subject. The first thing you will need to do is (if you are using a Mac) download a little peice of software called Handbrake (if you are using a PC, I'm sure there is comprable software, but I don't know what it is, post a comment with a link if you know one).
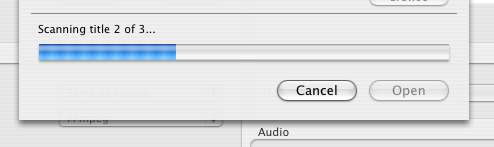
Put a DVD into your computer, any movie you'd like to have on your Ipod. Open up Handbrake (the icon is a fruity drink and a pineapple, I have no idea why).  The first thing it will ask you is to select a DVD. A few moments after you insert the DVD, it will automatically be recognized by the program, select Open (detected volume). It will take about 15 seconds to read the disc.
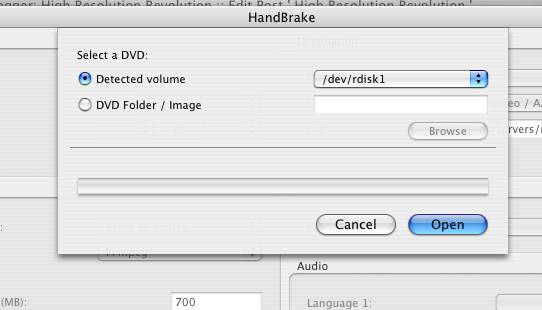
Once the disc is scanned a new window will open. In the top left box (Source) select the disc element you would like to compress, in the drop down menu next to "Title:" the actual movie is usually the one with the longest running time. 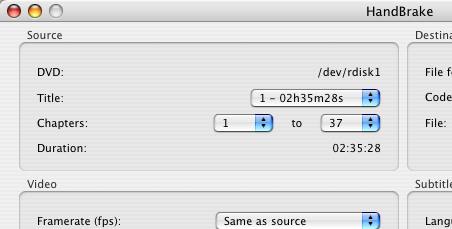 The other elements are other special features on the disc. For "Chapters:" it will usually just select from 1 to the last chapter of the film.
In the quadrant on the lower left, "Video," go to the drop down menu for "Framerate (fps):" The name of the game in compression is to get the highest quality image and the smallest filesize. Normal NTSC video plays at 30 frames per second, because the Ipod resolution is half the resolution of your TV screen we can assume that seeing only half of the amount of frames will be all we really need. So, from the "Framerate (fps):" drop down menu select 15 frames.  Leave the "Encoder:" as FFmpeg. Leave Average bitrate (kbps) as 1000, or lower it to 600 if you'd like. And leave quality at 50% (this is a good in between, as we are making our video half-resolution anyway). At the bottom check the box for 2-pass encoding, this is going to make the colors more true to the original video, but it will take twice as long to compress.
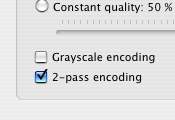
In the top right quadrant, under file format, select MP4 file. 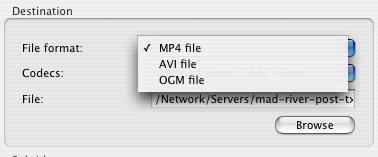 This is the type of file your Ipod reads. Under codec you have two options, MPEG-4/AAC or AVC/H.264/AAC, your Ipod can read both of them. I prefer MPEG-4, so we'll go with that.
  To make sure your new file ends up in the right place, click on the "browse button" and save it with a new name.
Now, there is one last step, on the bottom right click on "Picture settings..." 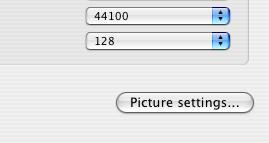 Picture settings will open up a new window in which you can see a frame from your video. Your Ipod can read a couple different resolutions. 720x480 is what your television reads, your Ipod screen is 320x240. Unless you will be playing your video from your Ipod onto a TV screen, you don't need to make your file any larger than 320 pixels wide. On the top right in the "Size:" box click on the little down arrow next to the "width" box until the pixel width is 320.
 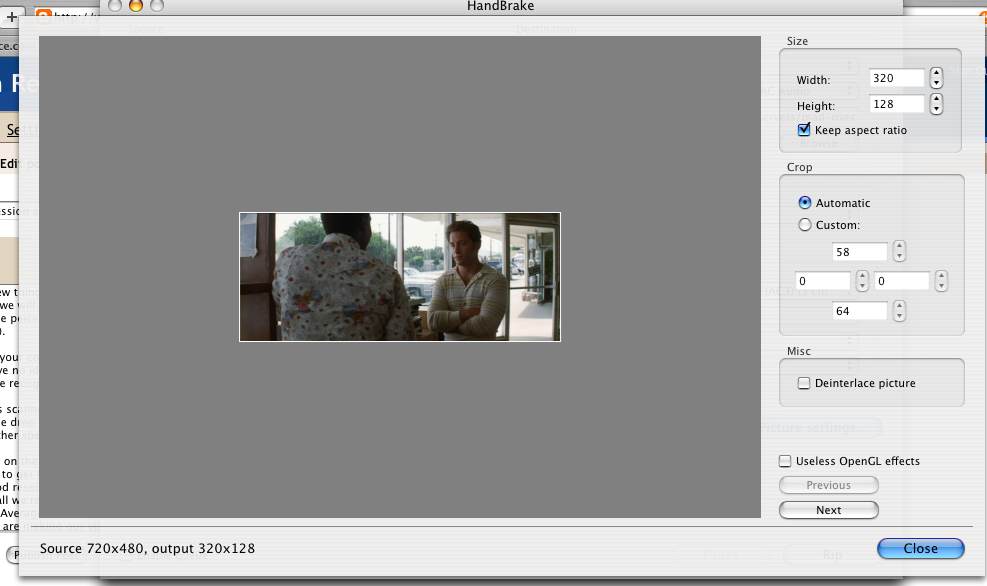 As you can see, the movie that I am compressing "Boogie Nights" is a wide screen movie so the height is rather small, 128 pixels rather than 240. This is due to the fact that an anamorphic 35mm movie has a screen ratio of 2:40:1 as opposed to a "sqaure" ratio of 4:3, in which case the picture would fill the entire 320x240 Ipod screen.
Once you've resized your video, click on "close" at the bottom right. Now click on the Rip button and you are in business. Once the file is finished, open it in Itunes and drop it into your Ipod, then booya, you have a movie on your Ipod. An hour and a half movie is about half a gig usually.
Friday, May 05, 2006
Compression and the Video Ipod
Subscribe to:
Post Comments (Atom)
0 comments:
Post a Comment